

How To Draw Hulk Full Body
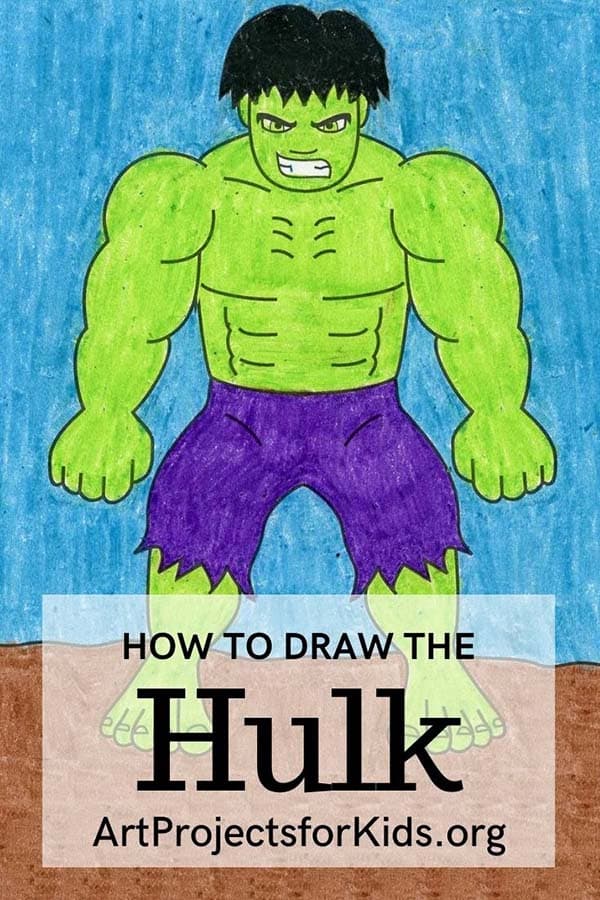
Piece of cake How to Draw the Hulk Tutorial and Hulk Coloring Page
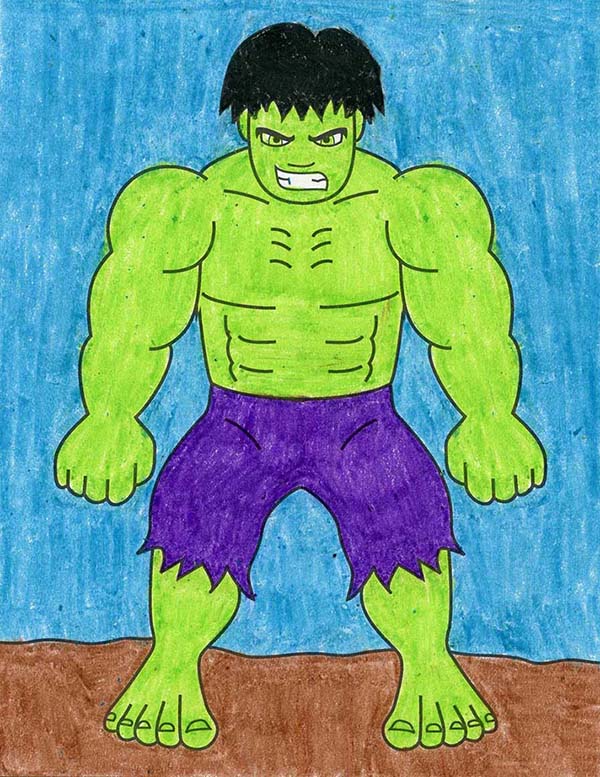
Learn how to draw the Hulk with this easy pace-by-step tutorial. Great musculus drawing practise, that's for sure!
TheHulk is a fictional superhero appearing in publications past Curiosity Comics. The grapheme first appeared in the debut issue ofThe Incredible Hulk in May of 1962.
In his comic book appearances, the graphic symbol is both the Hulk, a green-skinned, hulking and muscular humanoid possessing a vast degree of physical strength, and his alter egoDr. Robert Bruce Banner, a physically weak, socially withdrawn, and emotionally reserved physicist. The ii exist equally independent personalities, and resent each other.
Thanks to some contempo movies, the Hulk is more pop than ever. In addition to the pop culture entreatment, drawing the Blob country offers some really great body drawing practice too. Even over-the-summit muscles need to be in proportion to each other to all the same look "real".
Save me to your Pinterest Board!
Use Push button beneath to Download a PDF Tutorial
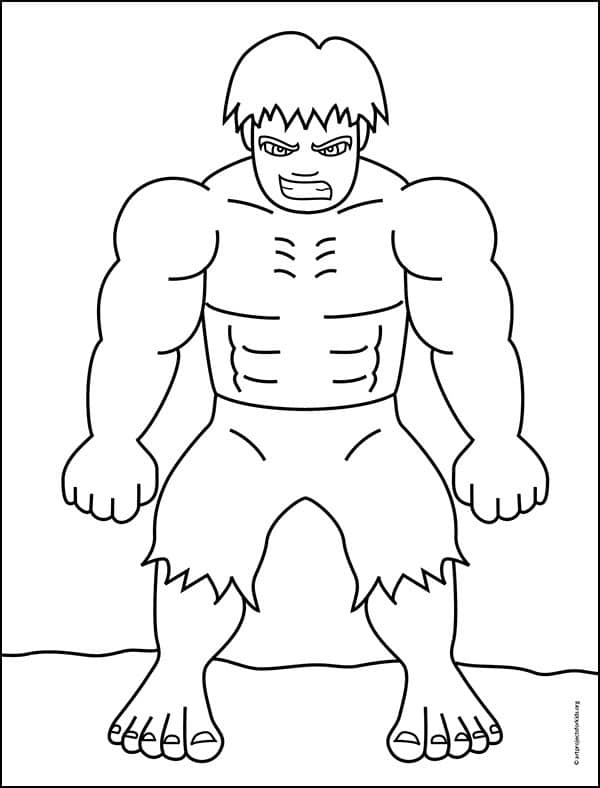
Hulk Coloring Folio
Materials for Hulk Project
- Eraser. Large ones you can hold in your paw exercise a much better chore than just the pencil tips.

- Black Sharpie Marker. These fine indicate permanent marker pens make nice black outlines, have a good tip for coloring, and never bleed when they get wet. Apply them with good ventilation and add together extra paper underneath to protect your tables.
- Prang Crayons. These are a scrap softer than other crayons so they sometimes expect like oil pastels. They besides accept a some dainty chocolate-brown shades that Crayola does not have unless you buy their larger boxes.
- Crayola Crayons. The reliable brand that ever works well. The 24 pack has some of my favorite golden orangish and xanthous colors that seem a bit richer and warmer than the ones Prang has.
Step by Step Directions for Blob Projection
Time needed:35 minutes.
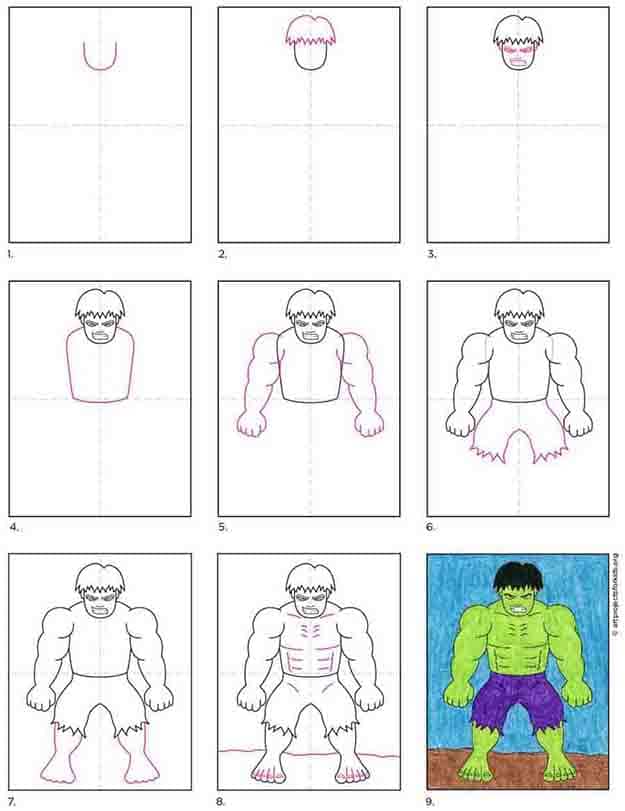
How to Draw the Hulk
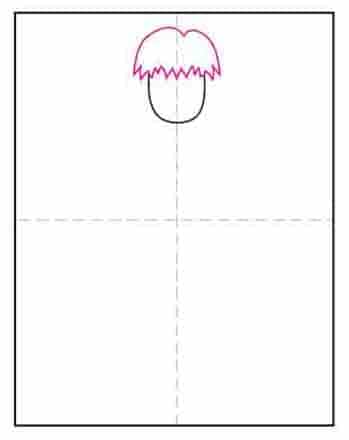
- Start the head with a U shape.

- Add some scruffy hair.
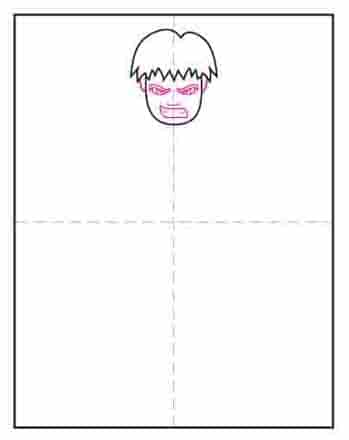
- Add ears, eyes and oral cavity.
- Starting time the torso as shown.

- Depict arms with lots of muscles.

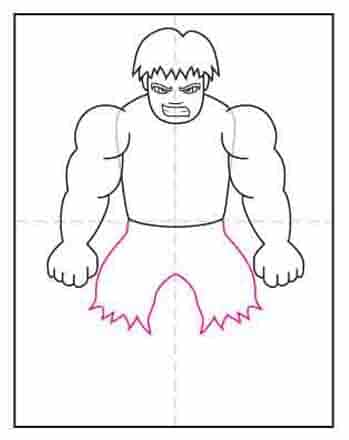
- Erase lines and depict the shorts.
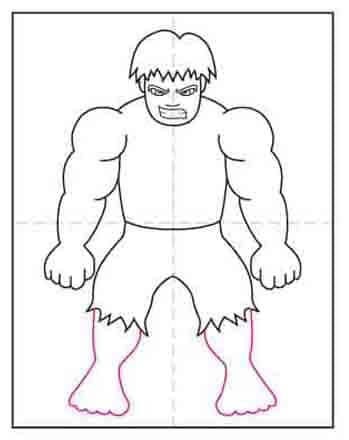
- Draw the ii legs below.
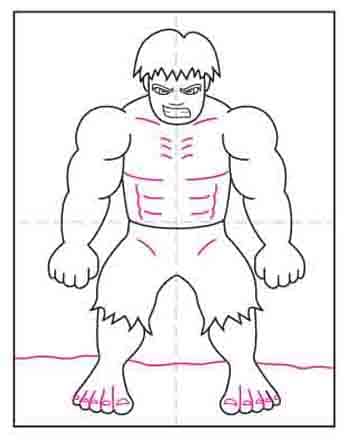
- Add together the final details shown.
- Trace with marking and colour.

More than Fun Character Projects

Source: https://artprojectsforkids.org/how-to-draw-the-hulk/
Posted by: batesountracentle.blogspot.com
0 Response to "How To Draw Hulk Full Body"
Post a Comment